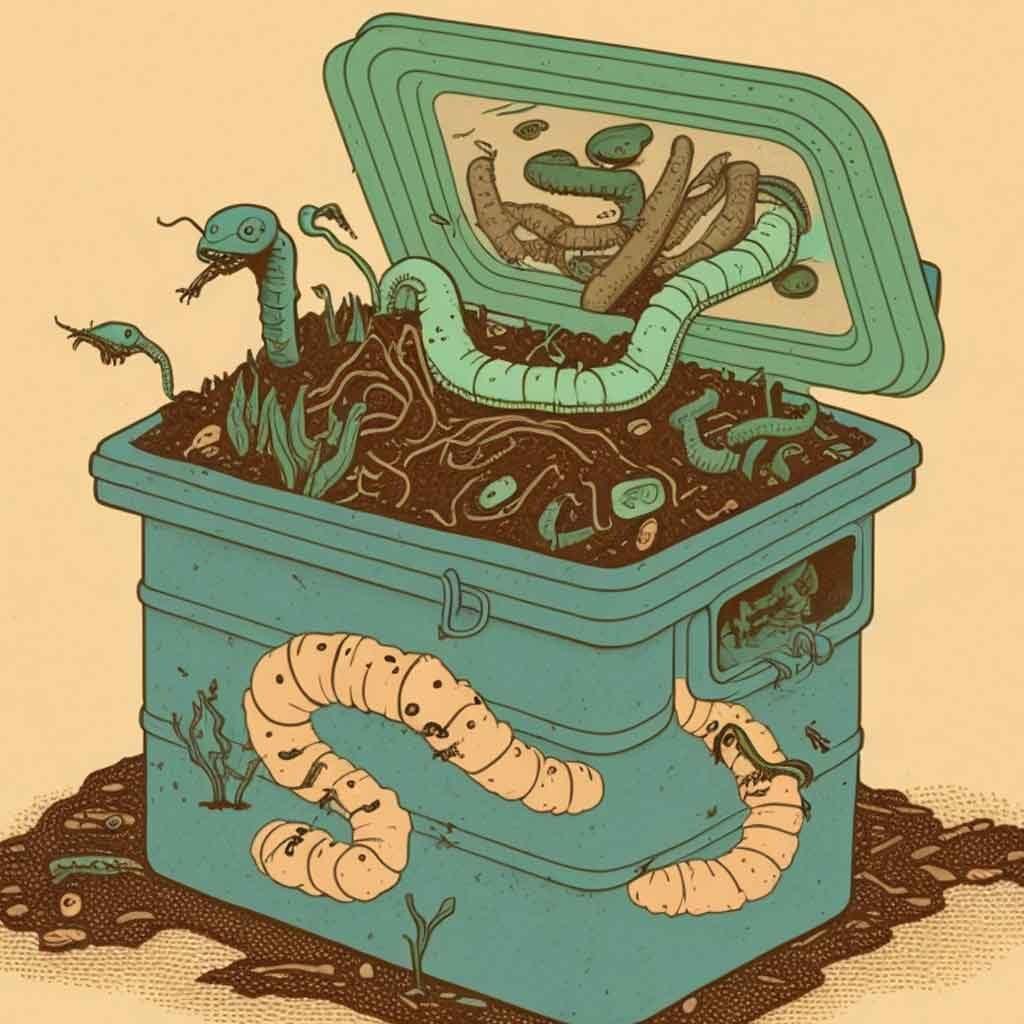
So what, you may ask, is vermicomposting and how does it work?
Well, “vermi” is the Latin word for worm, and worms like to feed on slowly decomposing organic materials (e.g., vegetable scraps). The “end” product, called castings, is full of beneficial microbes and nutrients, and makes a great plant fertilizer. So, vermicomposting is the practice of using worms to make compost simply by feeding them your food waste.
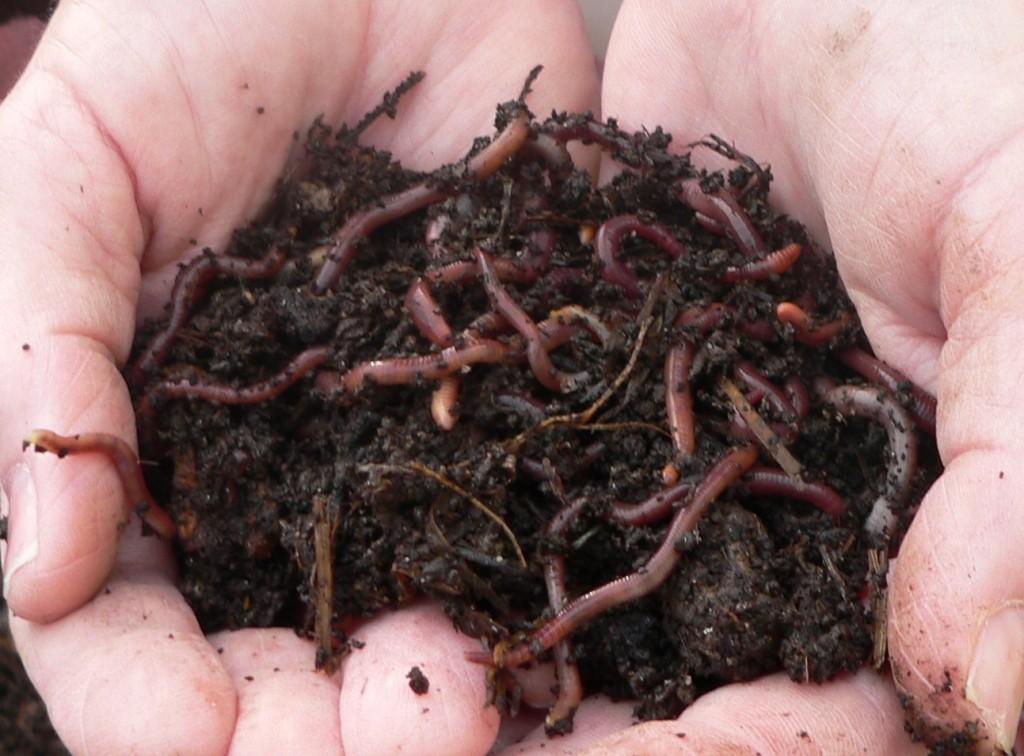
The reason vermicomposting is becoming popular is because worms are very efficient eating machines. They eat over half their body weight in organic matter per day!
Things to keep in mind before starting your system.
Not all worms can be used for vermicomposting.
– No, soil and garden worms cannot be used for vermicomposting.
Not all worms are created equal.
– There are over 4,000 species of earthworms ranging in size from ½-inch to 22 feet
long.
Only a few type of Earthworm species are used for vermicomposting.
– There are only four temperate and two tropical earthworm species used for
vermicomposting. One species, Eisenia fetida, is used by most people throughout the
world. Eisenia fetida is commonly called ‘red wiggler.’
The following video is a great system if you have room:
If you look online you will notice a bunch of different companies selling their own version of a worm bin, however If you look around your house you may be able to make one yourself for next to nothing.
To make your own home-scale vermicomposter you need a few things:
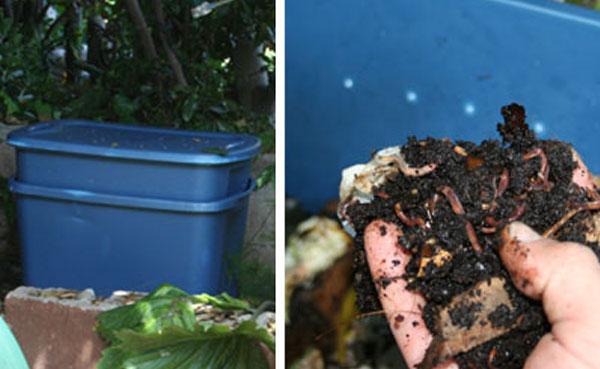
1.Two 10gallon Plastic Container bins (Dark Colors are better, Worms do not like the light)
2.A sharp object (knife or scissors or drill to poke holes)
3.A couple of bricks
4.Bedding
5.Worms (Red Wingers)
6.Spray Water Bottle With Water in it
7.Old Newspaper
Directions:
1.)First take one plastic container and set it aside. This will be your reservoir.
2.)Second take the other plastic container and poke holes on the bottom of the container. 1 hole every square inch should do.
3.)Next poke holes on the top piece of the container. 1 whole every square inch is fine.
4.)Place bricks inside the container with NO holes (Reservoir). Lay bricks on their side, this is to give the top container space to let the worm tea drip out.
5.)Place containers with holes on top of the bricks inside the Reservoir container (with no holes)
6.)Place bedding at bottom of container with holes( I used a cocoa mix, cardboard clipping work fine as well. Anything that will retain moister, try to avoid anything glossy)
7.)Spray bedding with water from water bottle so that it is damp but not drenched.
8.)Add Red Winger worms
9.)Add vegetable clippings, and shredded junk mail
10.)Spray with water bottle to make moist
9.)Place damp Newspaper on top to keep in moist.
10.)Put the lid with holes on top of the container. Place the lid with no holes on the bottom of your reservoir bin for a stand if you like.
YOUR VERMICOMPSTING
If you get this far, keep adding your worm food daily and wait at least three months for your worms to their thing. One you get a good batch of Humus, let me know and I will tell you how to seperate the worms from the humus so that you can add it to your garden or turn some into worm tea.
How to make Worm Tea With your Worm Castings
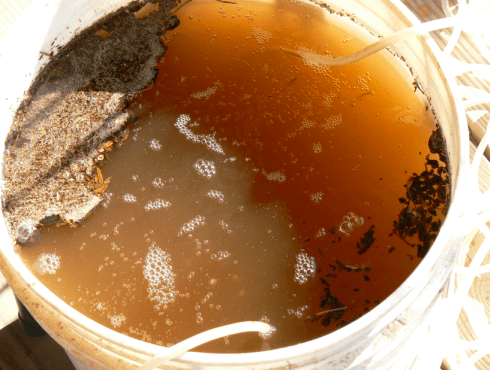
The following information was provided by www.redwormcomposting.com
An application of compost tea will add life to your soil with beneficial micro organisms that will fight disease and pests, as well as, boost your plants growth. Active aeration prevents harmful anaerobic bacteria and other non-beneficial microbial activity. Applying compost tea within a few hours is best, after a few hours the brew begins to go anearobic.
Many assume that worm tea is simply made by collecting the liquid that drains out the bottom of a worm bin (if it has drainage, that is), but this isn’t really the case.In actuality that liquid is referred to as leachate, and definitely isn’t nearly as good as real worm compost tea. The problem with leachate is that it can contain all sorts of compounds produced in partially composted or anaerobic waste materials – some of these can actually be phytotoxic – that is to say they can harm or kill plants. If you dilute the leachate with aged water and aerate it for 24 hours or so, it should be fine.
To turn your Castings into worm tea you will need a few extra suppliers:
Here is a basic supply list:
-High quality vermicompost / worm castings
-Some type of permeable bag – the muslin bags used to hold soaps etc can work really well, but even panty hose would likely be a great choice.
-Aged water – if you are using tap water you should let it sit for a day or two so as to remove the chlorine. Preferably, use some rainwater or pond water if you have some on hand.
-A bucket
-A basic aquarium air pump and tubing – an airstone will help, but it’s not vital
**Optional** – a source of simple sugars – molasses works very well. This is used to help increase the population of beneficial microbes in the mixture. Some claim that it is not a good idea since it will also potentially increase pathogens, but the way I see it – there actually need to be pathogens in the material for this to happen! Yet another reason that really high quality compost should be used



Leave a Reply